April Cardigan - Pistachio LOTV Ver.
On this page 6 sections
Project recap
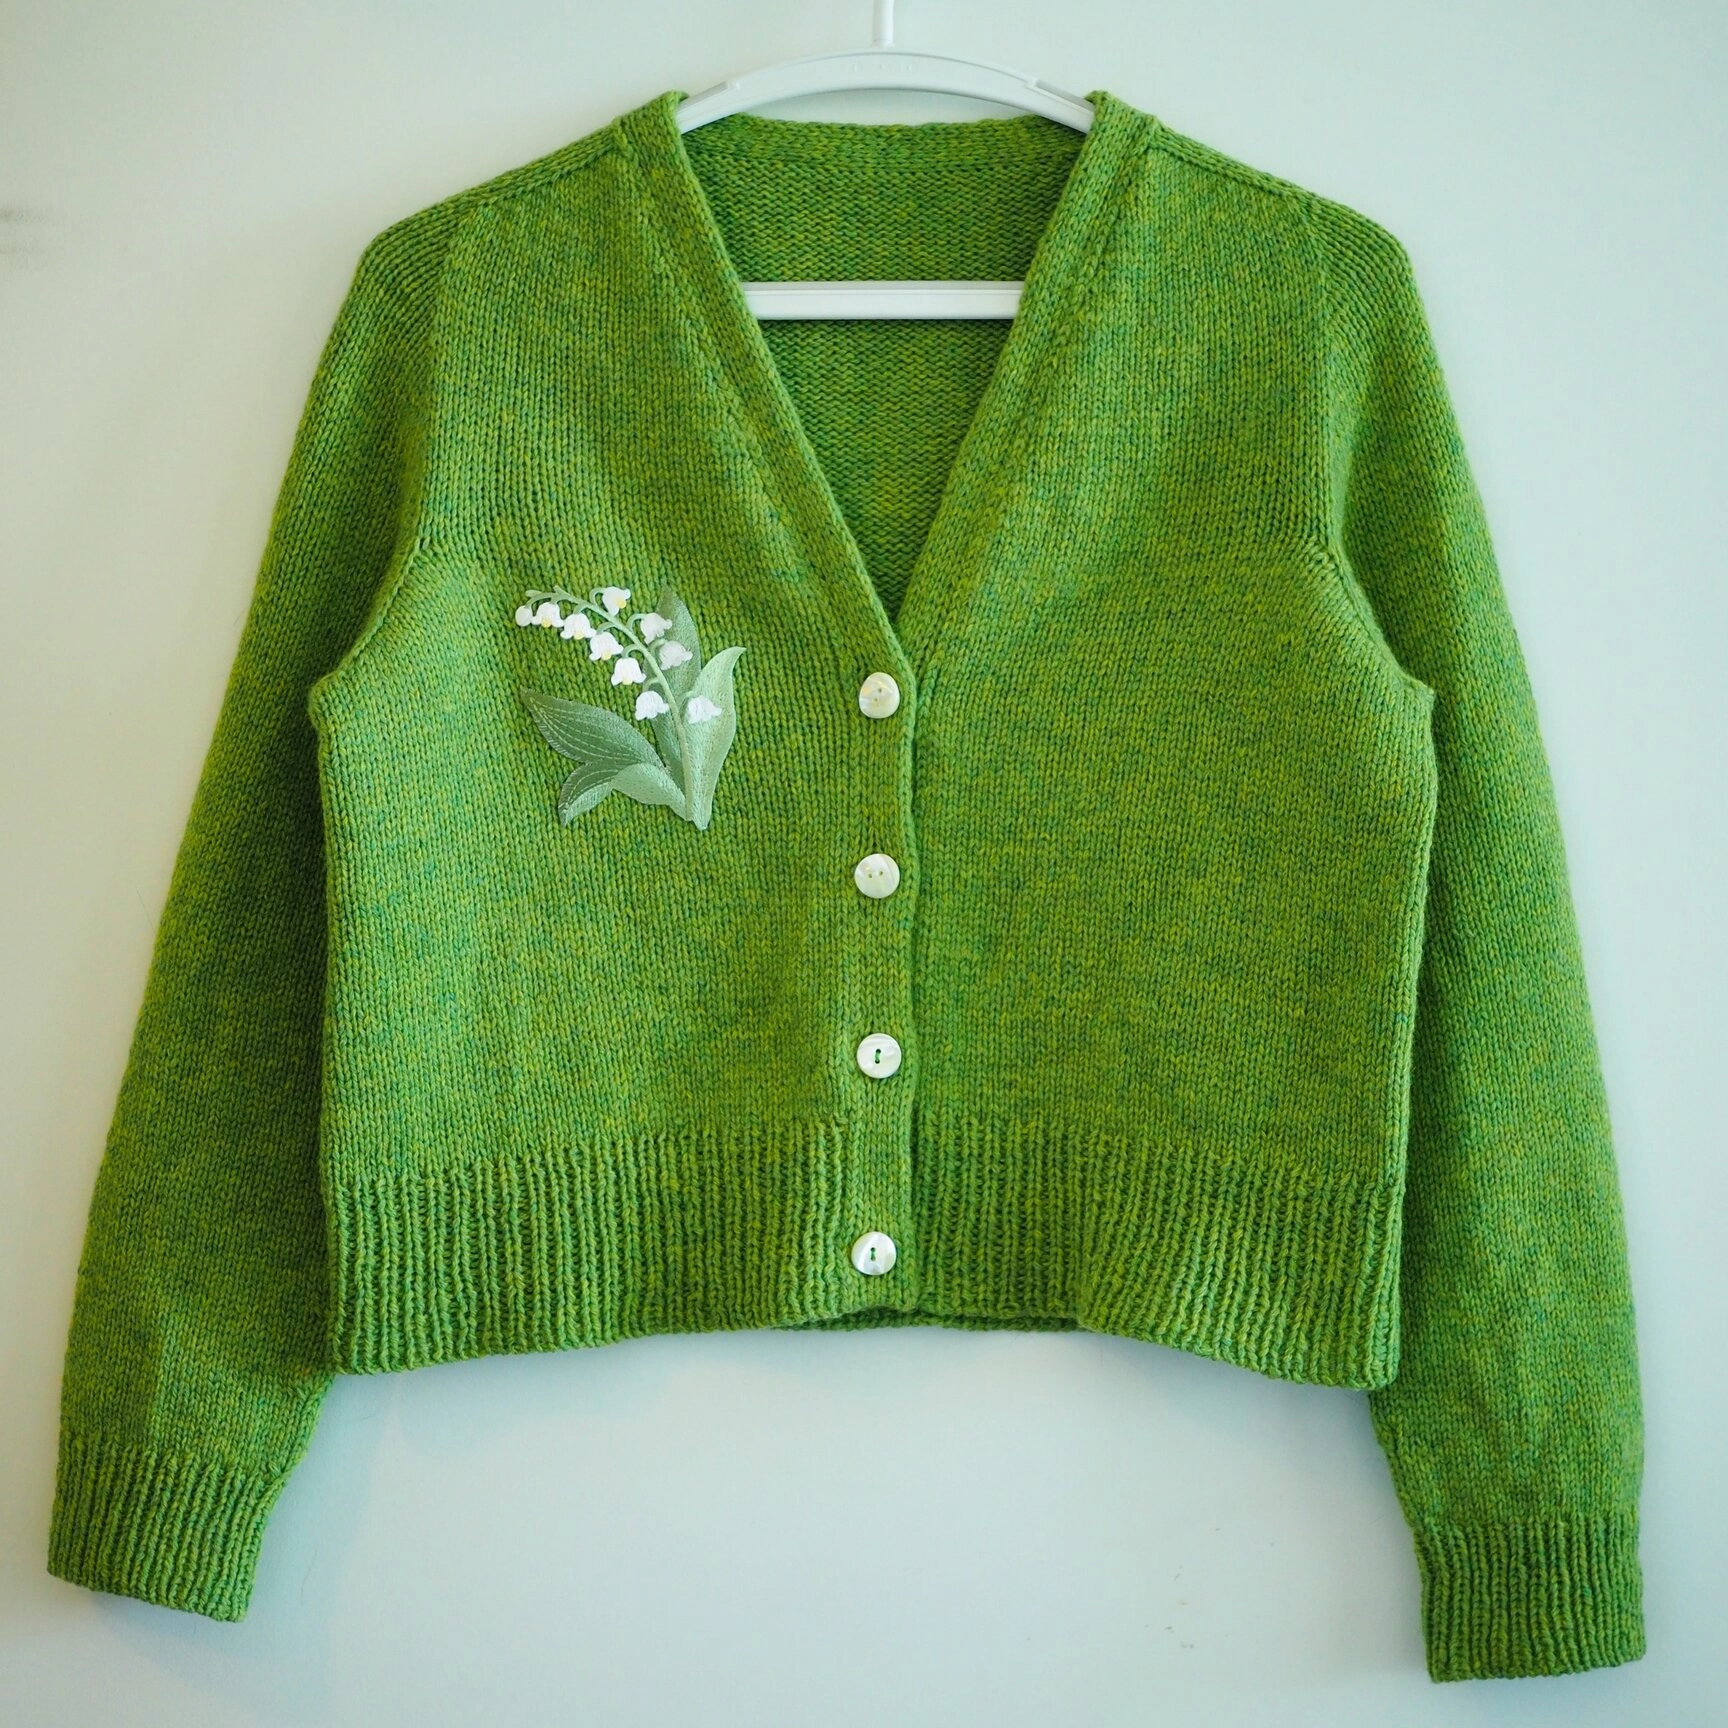
- Ravelry: PurringYarn’s April Cardigan - Pistachio Ver.
- Time spent: 80 hours
- Yarn: ColourMart 2/18NM heavy lace wt merino kent (444364 Pistacchio)
- Needle: US 6/4.0mm (body), US 5 (ribbing), US 2 for the button band
- Gauge: 21 sts = 4"
- Duration: -
- Pattern: April Cardigan by PetiteKnit
Errata
Errata: in the sleeve increase section, the description should be “work row 1 and row 2 each 16 times aka a total of 32 rows (16 rows for 1 and 16 rows for row 2).
Design modifications
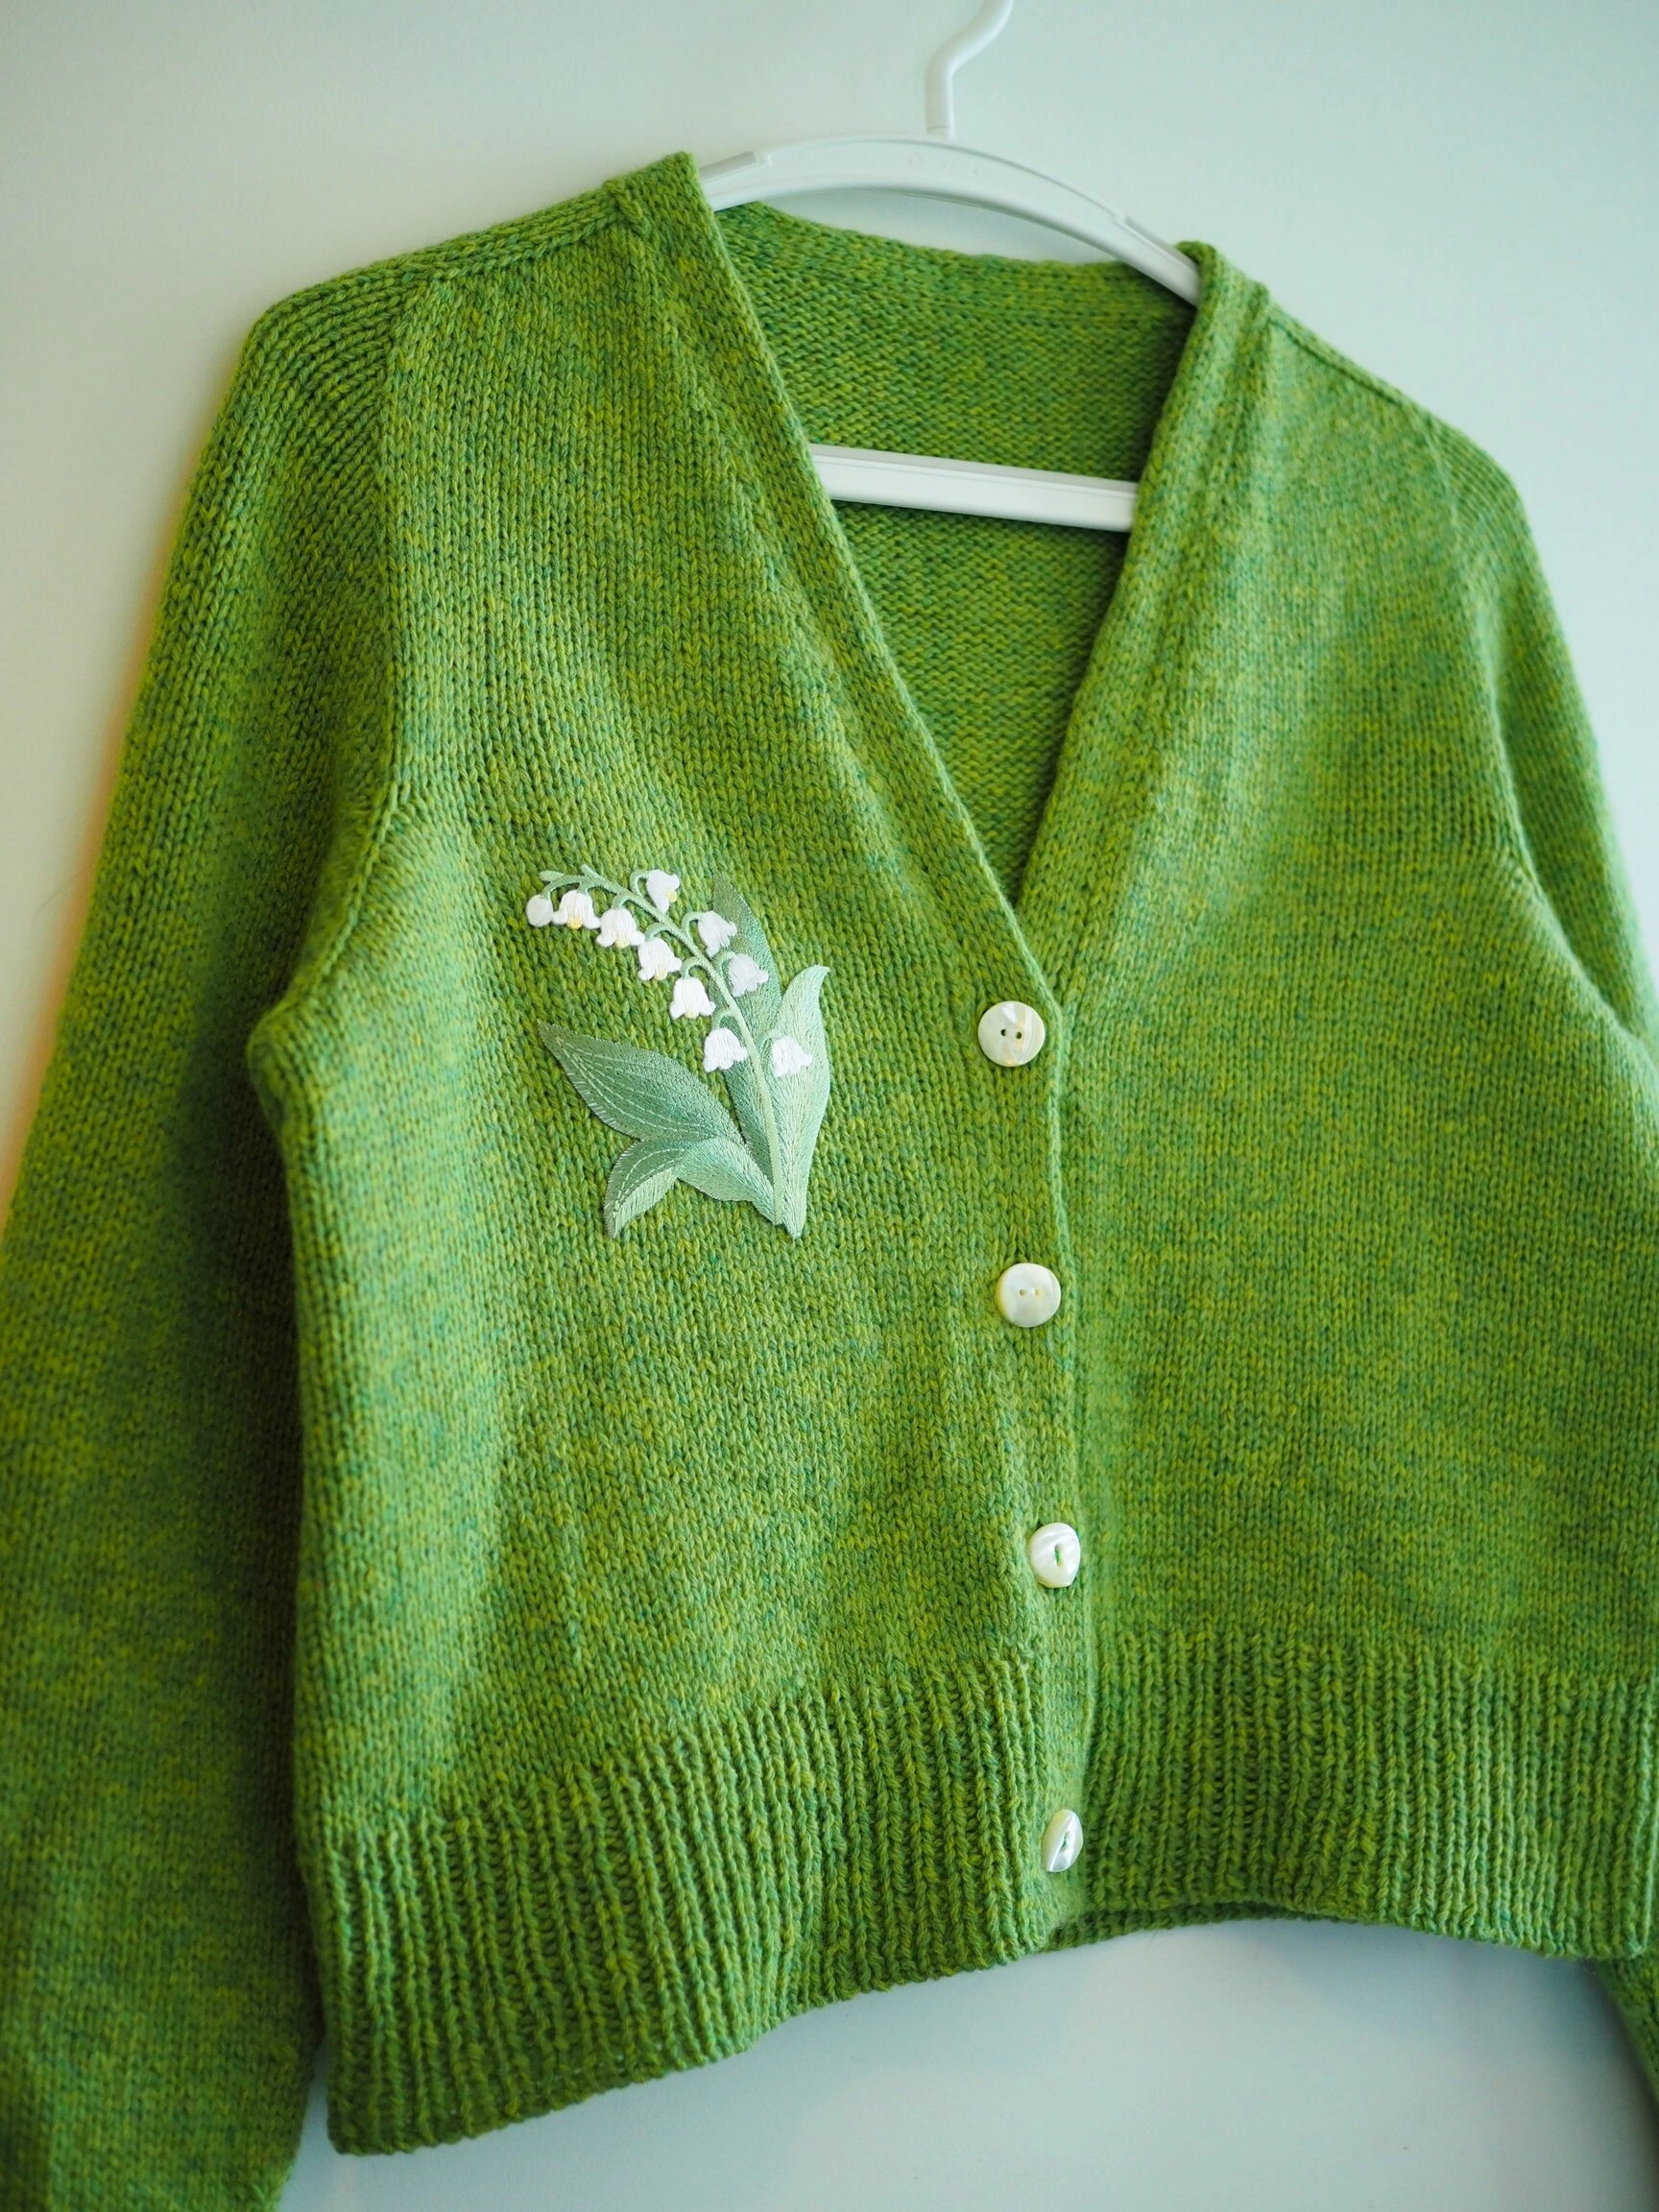
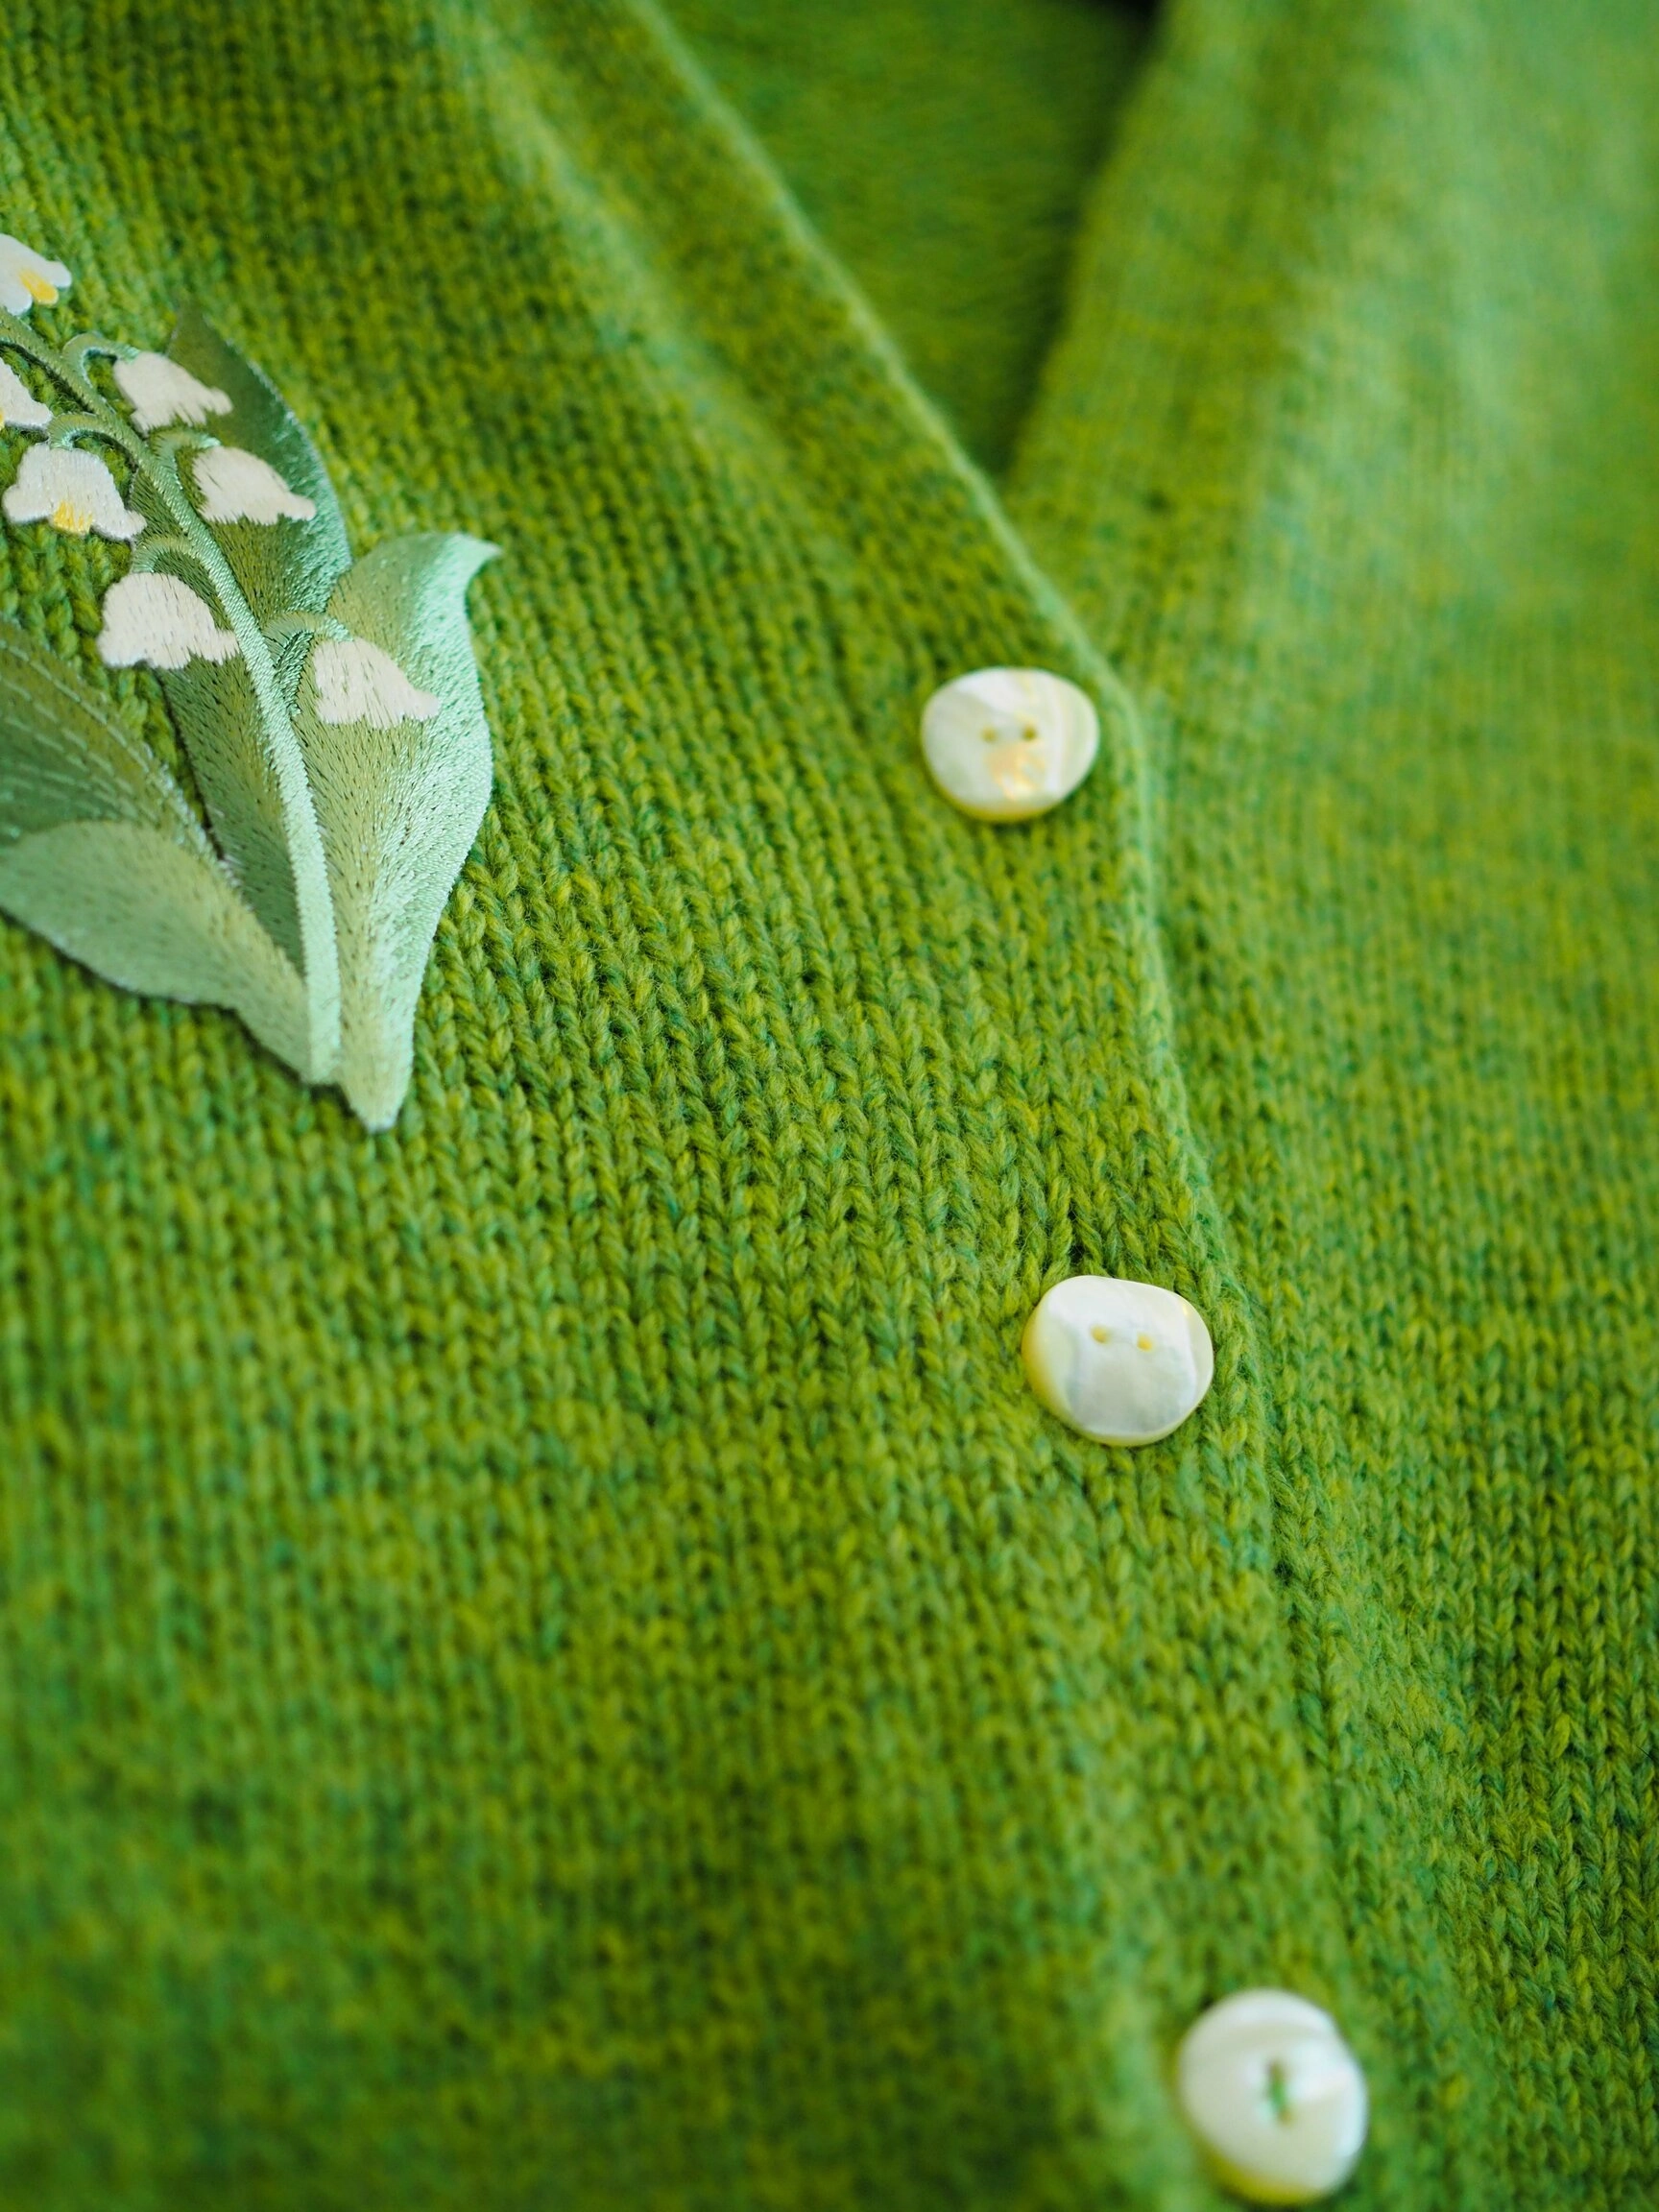
- Double knitted button band with 11 sts instead of 1x1 button band. Took me 4 times to get the right look. I followed this tutorial.
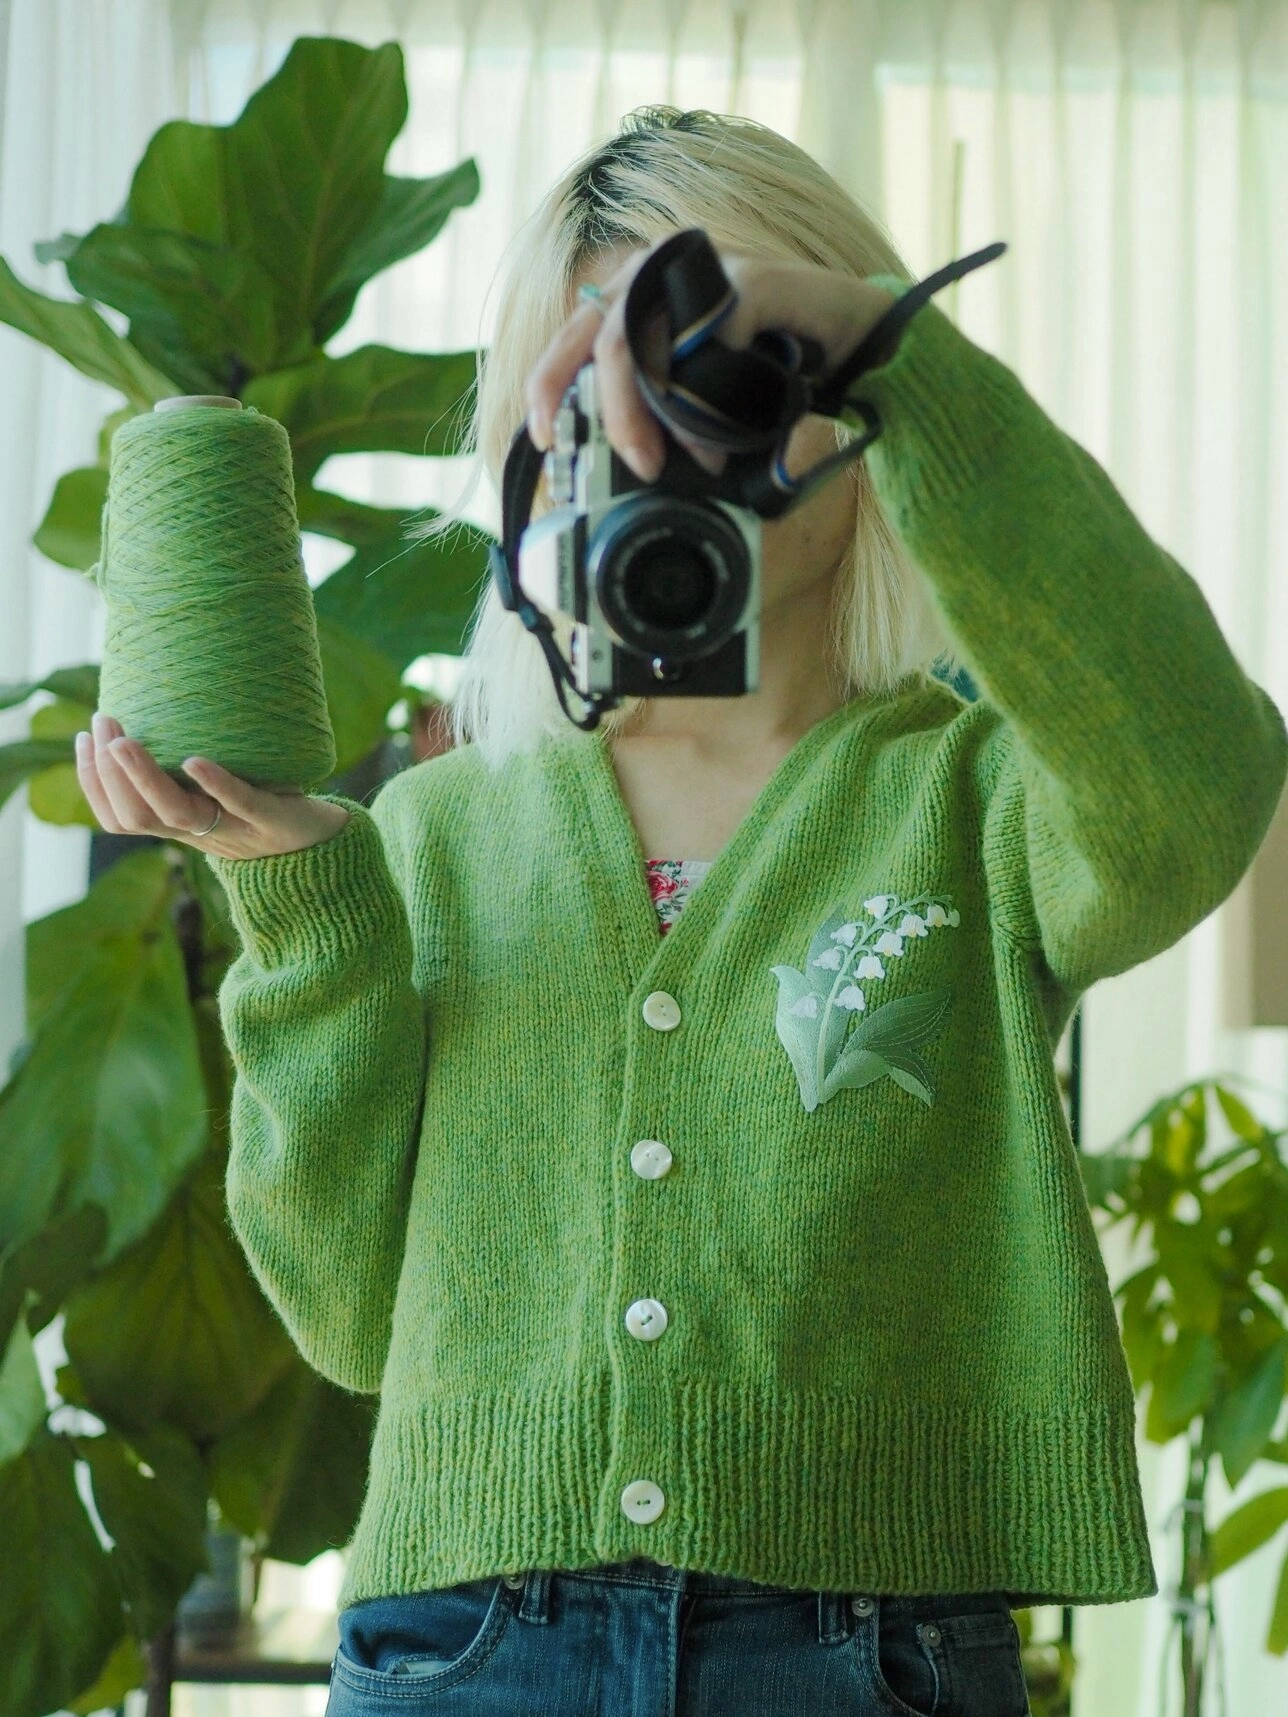
- I add a lily of the valley embroidery patch to the cardigan to give an even more spring vibe :)
- 4 shell buttons made in thick Torraba Shell 塔罗贝. I absolutely adore them! Initially planned to use wooden flower shape buttons but I don’t feel it fits the colour nor the lily of the valley patch, so I chose white-ish buttons as a result. I ran out of the green thread so I used white thread for the top two buttons.
Yarn chicken - I won and I lose
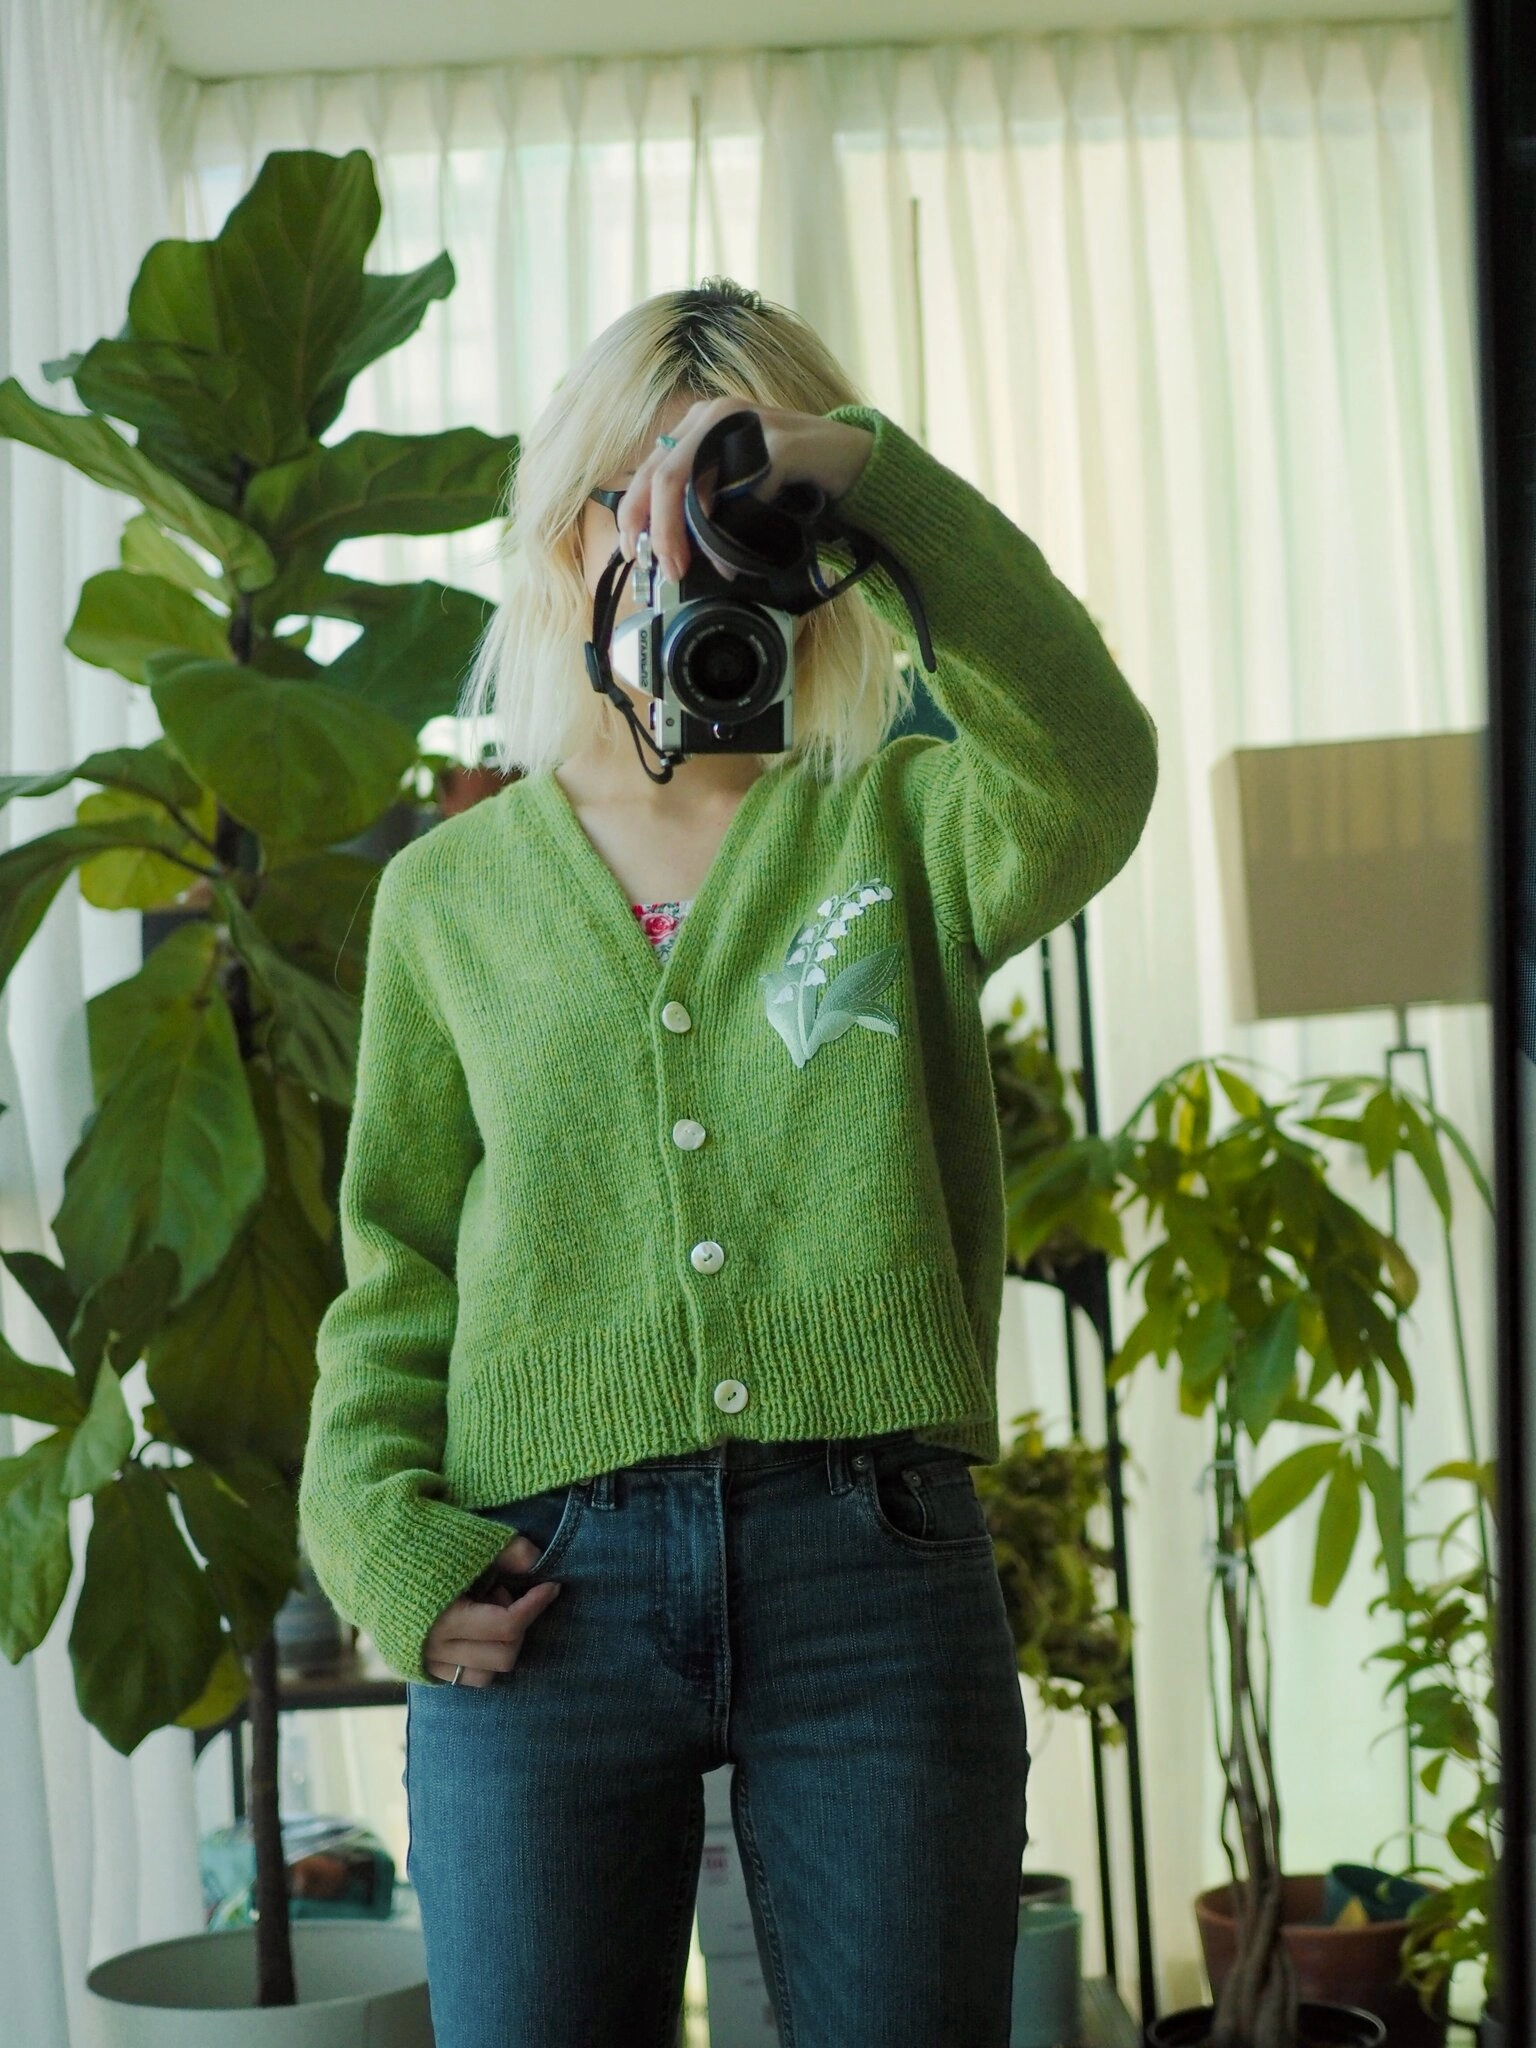
This is my first time using heavy lace weight Colourmart yarn and I’m not very familiar with it. Initially I planned to use 2ply but it turned out my gauge would be too small. After swatching gauge in 2ply, 3ply and 4ply, I decided to split the ply and re-wind them into 3 ply. The re-winding was a disaster - never again! For future record I would rather just buy 1 ply and wind them by myself.
The trouble of yarn is not over. When planning for the project and calculating the gauge, I knew I might need to fight yarn chicken. In the half way of the body, I calculated the remaining part including double knitted button band and thought I could barely make it. When I’m starting the sleeves I realized my previous calculation didn’t include the amount of another sleeve, so I didn’t hesitate and ordered another cone of yarn. Turned out this was a mistake - my calculation was off probably because 1) I over estimated the amount of double knitted button band 2) I got lazy and didn’t count in the decrease of sleeves.
At the end, I won the yarn chicken because I had enough yarn. On the other hand, I also lose because I ordered an extra cone that serves no purpose. Well, I’m sure I’ll find some accessory for it, but not now.
Project timeline
- – Cast on.
- – Separate sleeves and body.
- – Finished body. Order new buttons and more yarn.
- - Tried and frogged double knitted button band 4 times. Still not satisfied, uhh.
- - Finished one sleeve.
- - Finished both sleeves.
- - Re-knitted body ribbing and added more length of stockinette.
- - Bind off and block.
- - Sew in buttons and add embroidery patch.
New techniques learned
How to Knit a Double Knitted Button Band on a Cardigan | Knitting Tutorial - YouTube
Knitting journal
Rewinding the merino kent colourmart yarn. I knitted three swatch, each one with different amount of strands (2/3/4) and I was able to achieve the pattern gauge with 3 strands. I guess I could use the winded 2 strands for convenience but I’m a bit lazy to knit few sizes larger to compensate the smaller gauge, so I decided to rewind the 2 strands cone to 3 strands. And damn I’m not sure I made the right decision because it took forever to unwind the ply! Anyways, after 2 nights I finally get it done. Lesson learned and I would never buy winded ply again from colourmart. The ones I have are probably not enough though. We will see.
- 17 days later
Finished the increase finally and just separated sleeves and body.
Yesterday I noticed one of the increase line looks weird due to two missing increase sts and I have to unravel appx. 10 rows since it’s cannot be fixed by going down the ladder. After that I was more careful with the increase count, but still, I got 2 additional sts (42sts) for sleeves panel after sleeves inc part. This does not impact the total stitch count though for some odd reason and looks okay so I left as it is. In part 3 raglan increase I stopped when I got the correct total count, with 2 less sts in each front panel and 4 additional sts in each sleeve panel (41sts + 66sts + 89sts = 303). To make up for it, I CO 2 additional sts for each underarm and another bind-off st to avoid the underarm hole. This way I got the same body sts count as the pattern. 4 additional sts in the sleeves are okay as I prefer a more relaxed sleeve fit.
Errata: in the sleeve increase section, the description should be “work row 1 and row 2 each 16 times aka a total of 32 rows (16 rows for row 1 and 16 rows for row 2).
- 5 days later
- Finished the body including the hem (40cm stockinette + 9cm ribbing)
- Remaining 2 skeins: 59g + 72g
- 2 days later
The double knitted button band is taking forever and I’m not even half way through it. It looks better than the 1x1 rib though, I’ll admit. I placed another order with Colourmart as my calculations was off (forgot to count for the other sleeves 😅) so I definitely don’t need to play yarn chicken.
I tried putting the wooden buttons and they look…okay this time? Before I started the button band, I felt the wooden buttons do not go with the colour but now they look fine. I’m not sure if I need to buy some white buttons but I guess I can wait until I finish the whole thing once the yarn arrives.
- 16 days later
I’ve finished everything except the button, still waiting it to be delivered. Ehh!
From the knitting circle
Comments