Cancun Boxy Lace Top - Beige Ver.
July 25, 2026
Project recap

- Ravelry: PurringYarn’s cancun boxy lace top - Beige Ver.
- Time spent: 27 hours
- Yarn: Loveyarn 回归线 丝语(02 Cookie 曲奇)
- Needle: US 4/3.5mm
- Duration: -
- Pattern: Cancun boxy lace top by e kate archer
Yarn and pattern planning: some vent
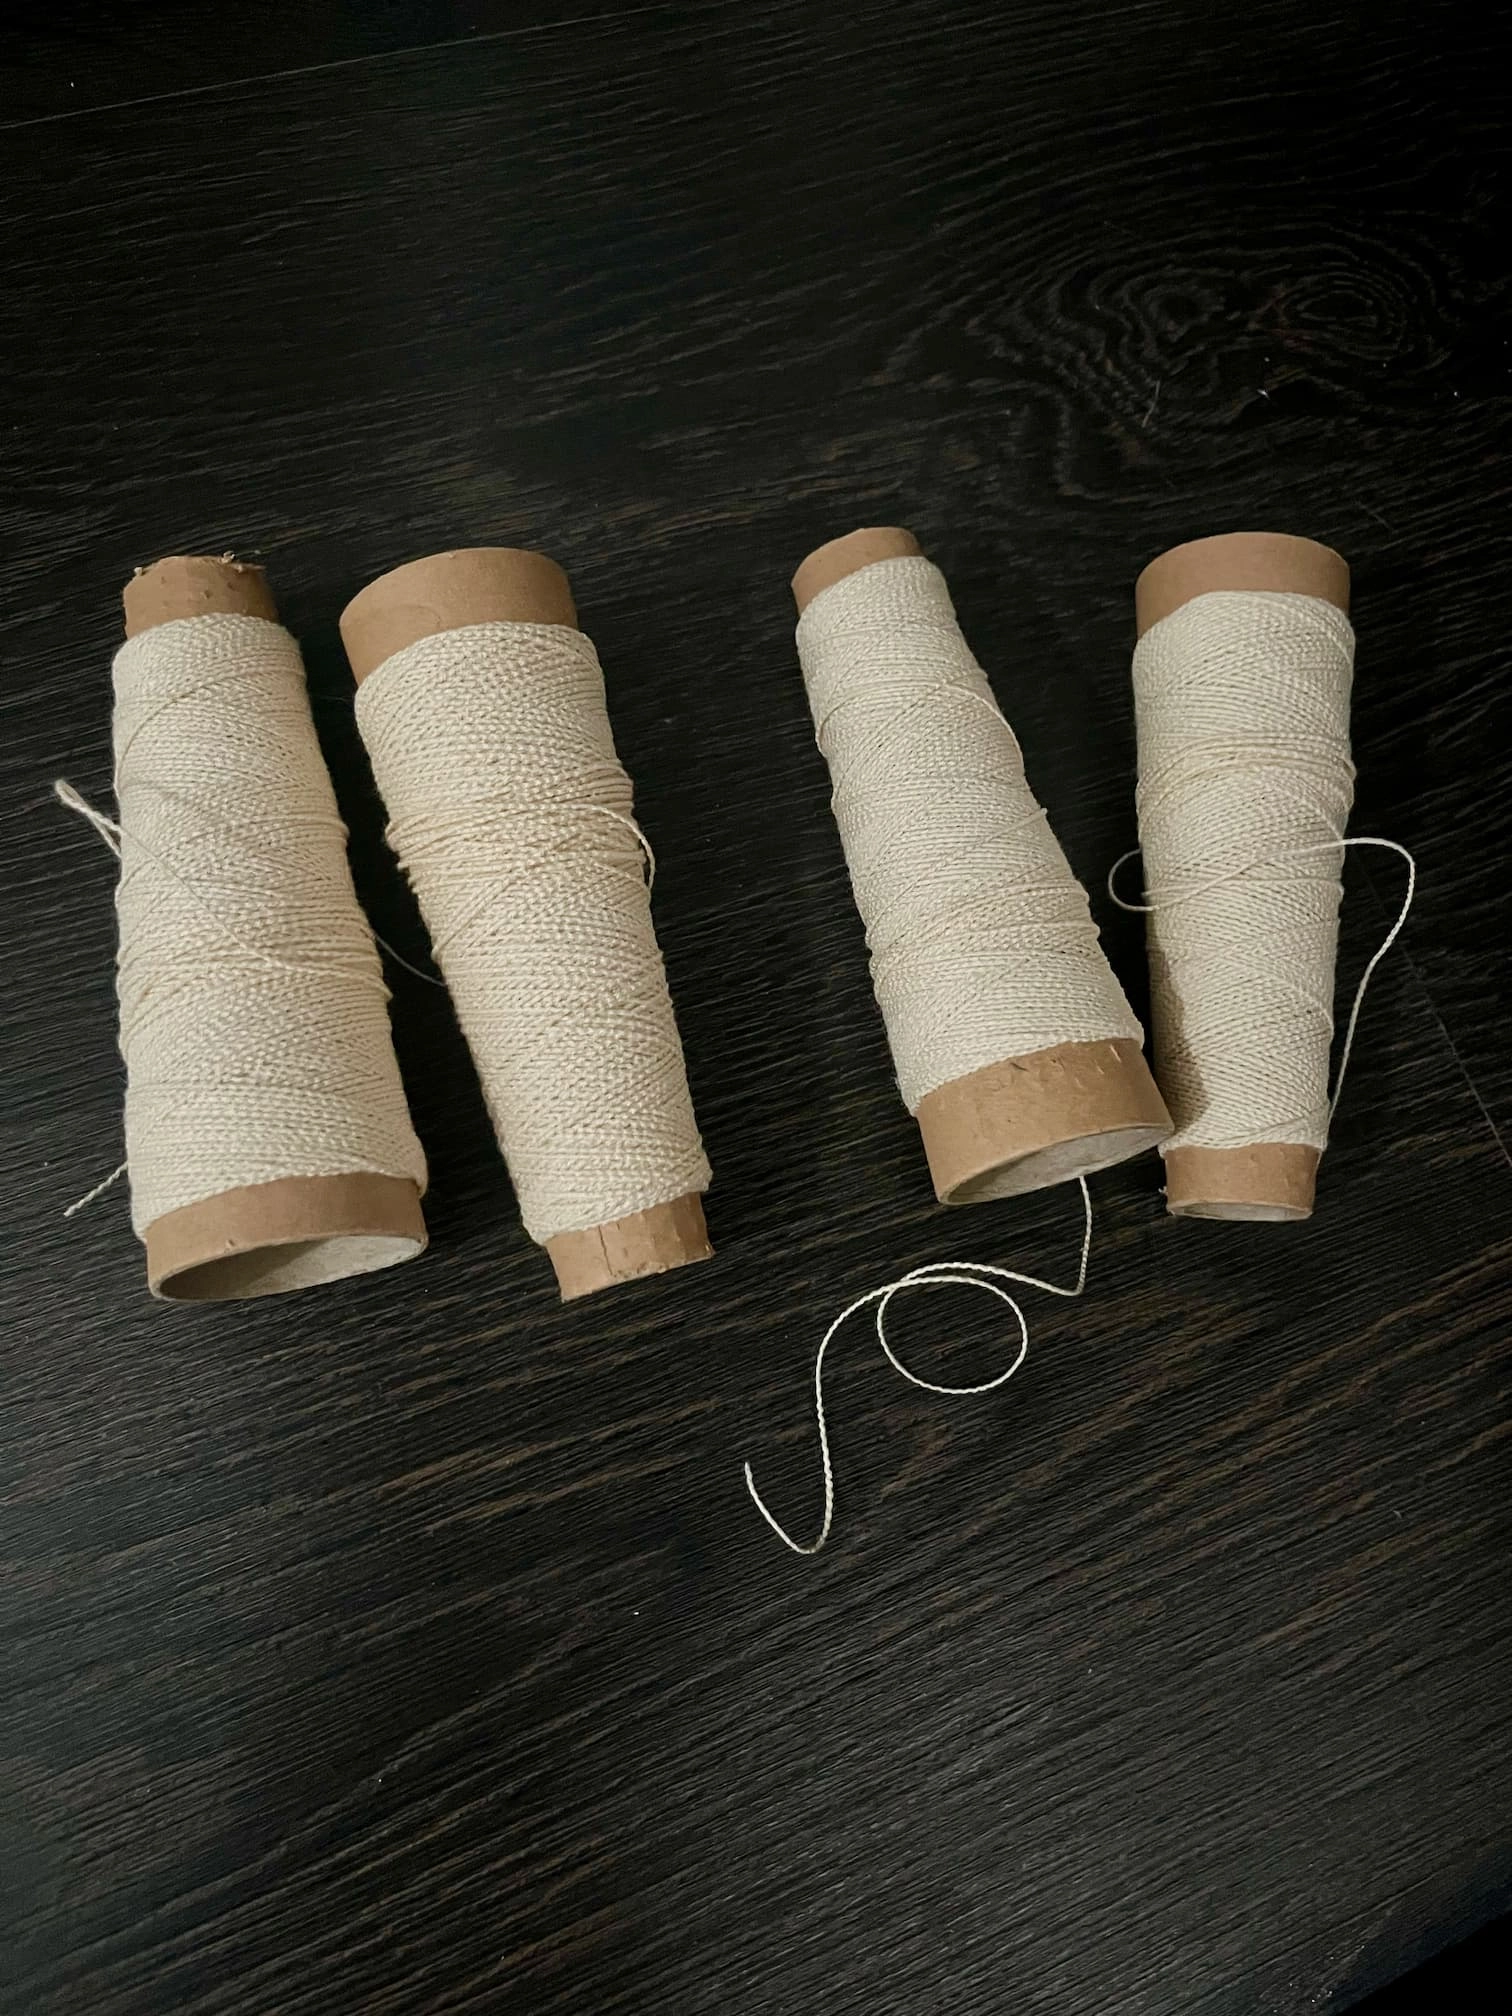
This yarn is 58% Cotton and 42% Linen. Not only it is rough to the touch, most important it’s incredibly stiff. I originally planned to use this yarn in a half-brioche cami (Emma Top), but after trying swatching it, I decided to seek another pattern to pair with it because it is certainly not a great match for a squishy textured pattern.
At the end, I chose a boxy lace top as it would be good for this hot summer. I’ve seem people wearing something similar to this in the street and it looked nice. Because of its stiffness, I believe it can hold the shape and show off the crisp beautiful lace pattern really well.
I’m holding the stands double with 3.5mm needles because this yarn is only thread weight - much thinner than what the pattern calls for.
To be honest, the yarn is a pain to be worked with. It’s not my first time using plant-based yarn and I’ve used 100% linen before, but knitting this cotton/linen yarn made me irritated. The main reason is that it has absolutely no elasticity, I mean ZERO. This makes working lace stitches such as k2tog, psso and dropped stitch incredibly difficult. Also, because I have to hold double, it becomes easy to split so I have to be very careful with it too. Not a good knitting experience and I have never be so relieved to bind off a project when it ended.
Now thinking about it, I probably would not buy summer yarn from China any more, because most of them are quite thin and have to be held double, making the purchase less cost-effective comparing to my LYS brand.
Modifications
Panels
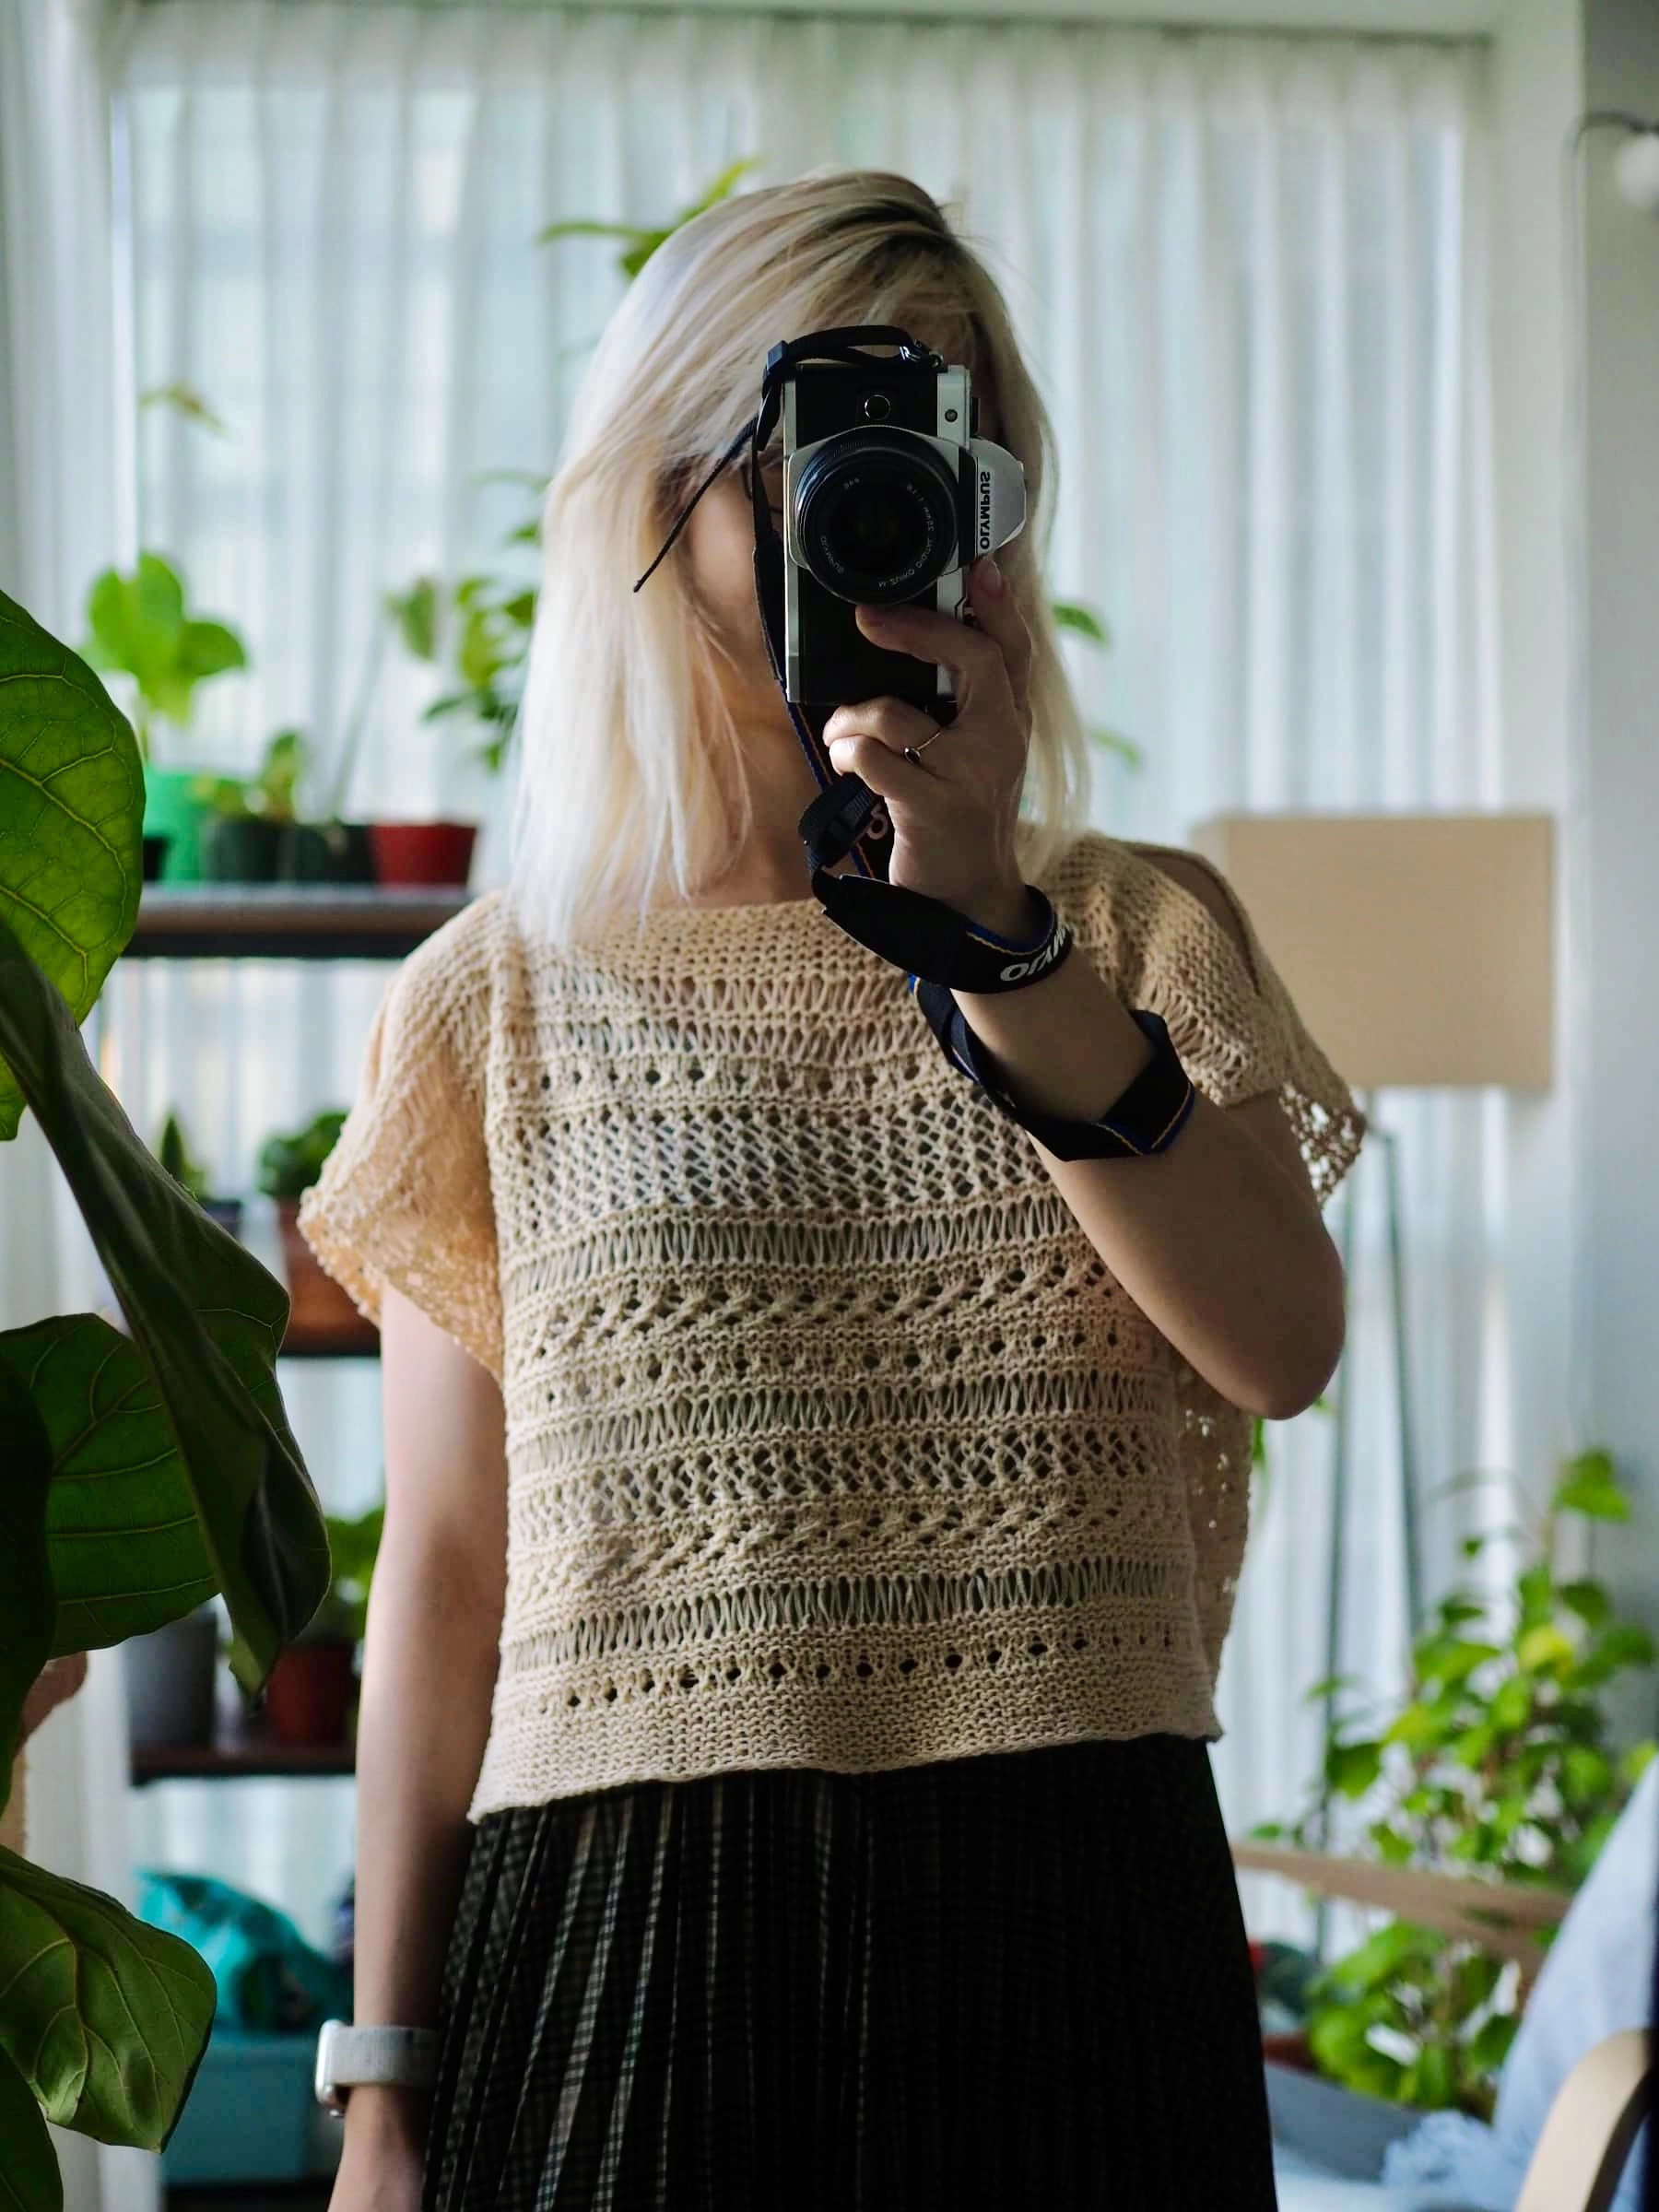
CO 98 sts. For the pattern itself I didn’t use any selvedge edge unlike many Raveler did, as I recalled it would reduce the integrity of sewing. However, because I’m using thinner yarn and needles, I do need to extend the panel to reach to the desired length. For me, it’s appx. 14" for a cropped look without exposing my naval. The pattern is more like a recipe rather than detailed instruction so it’s easy to mix and match the four panels to get the right length. For panel C netting stitch, I did not use 8-rows in each panel, only 4 rows for the first one, and 8 (or maybe 10? I can’t remember) rows of netting in the upper panel. It created an eye-catching look which I like!
My panel arrangement: A - B - D - C - B - A - D - B - C - A - B - B
Note that I didn’t strictly use the 4-rows garter stitch between panels. I initially used 6-rows and then reduced to 4-rows, and in one or two places I believed I only used 2-rows.
Cold shoulder
When sewing front and back piece together, I use the clips to check for the desired width and decided to only sew the beginning and end of the shoulder line to make a cold shoulder look. It worked well! For each section, I sewed appx. 1" so that it can stay in the place.
Size
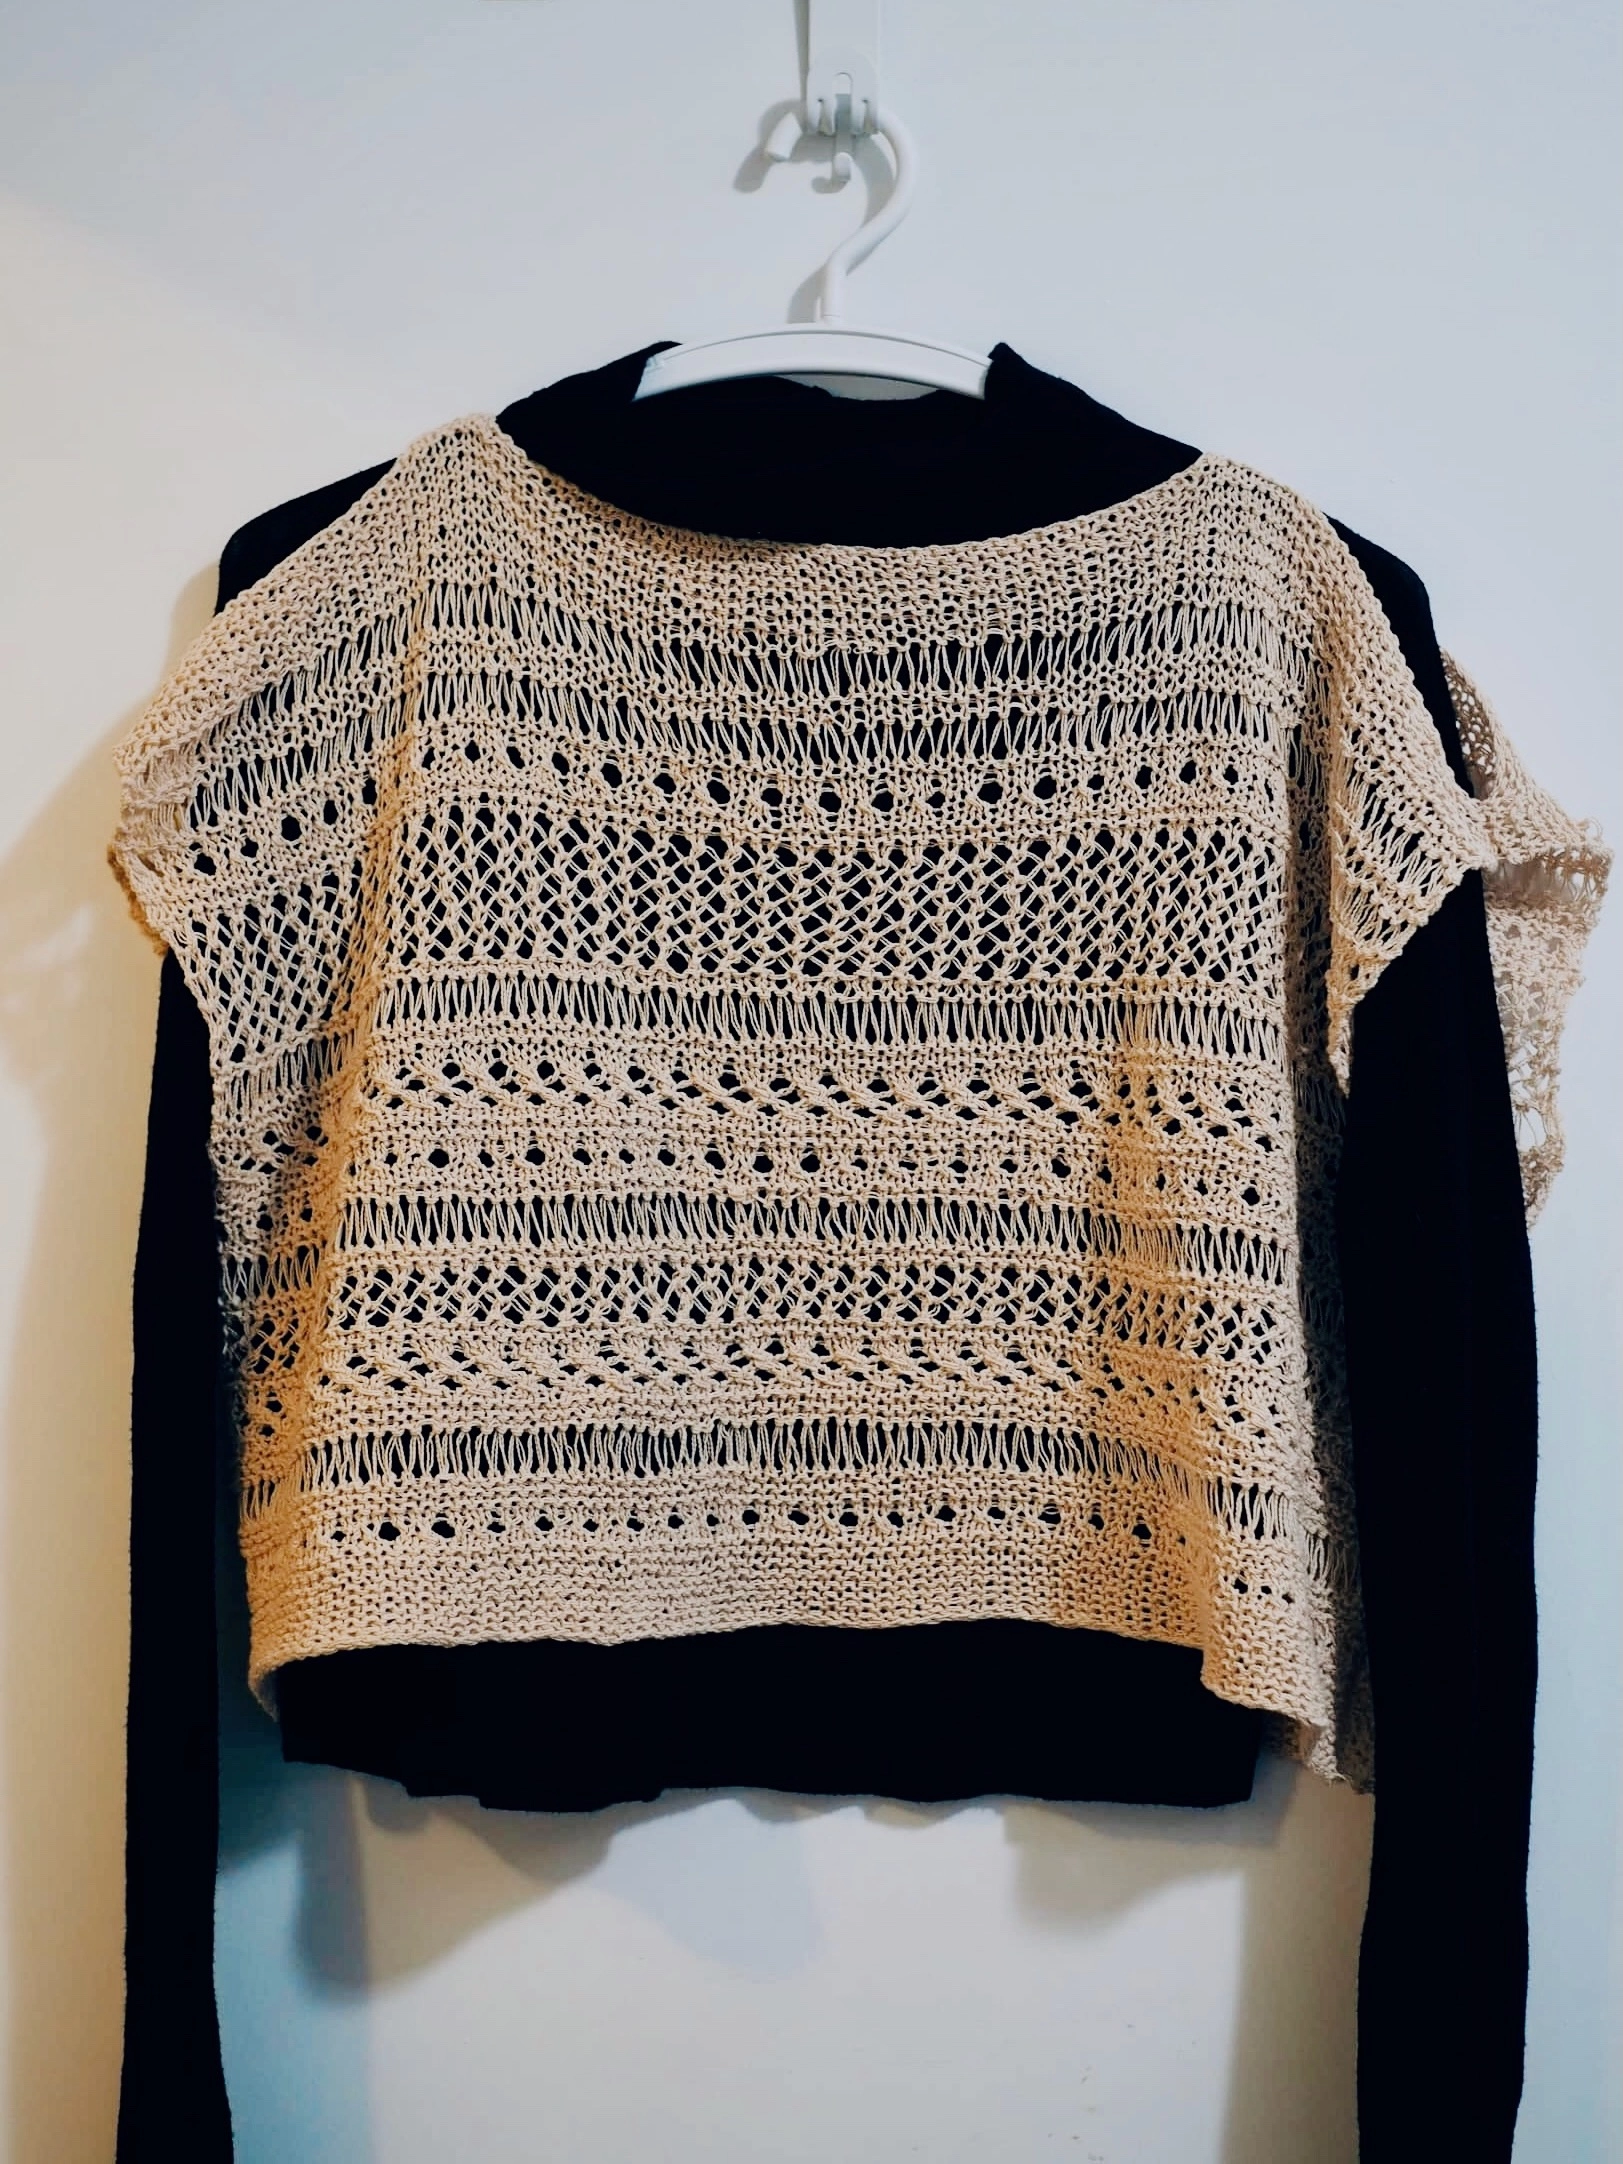
Fortunately the size almost didn’t change after blocking (because I forgot to count that in when expanding the panels)
After blocking: 23" x 14" each piece
Project timeline
- – Cast on.
- - Finish the first piece.
- - Finish the second piece.
- - Block and sew together.