Emma Top - Forest Green Ver.
On this page 5 sections
Project recap
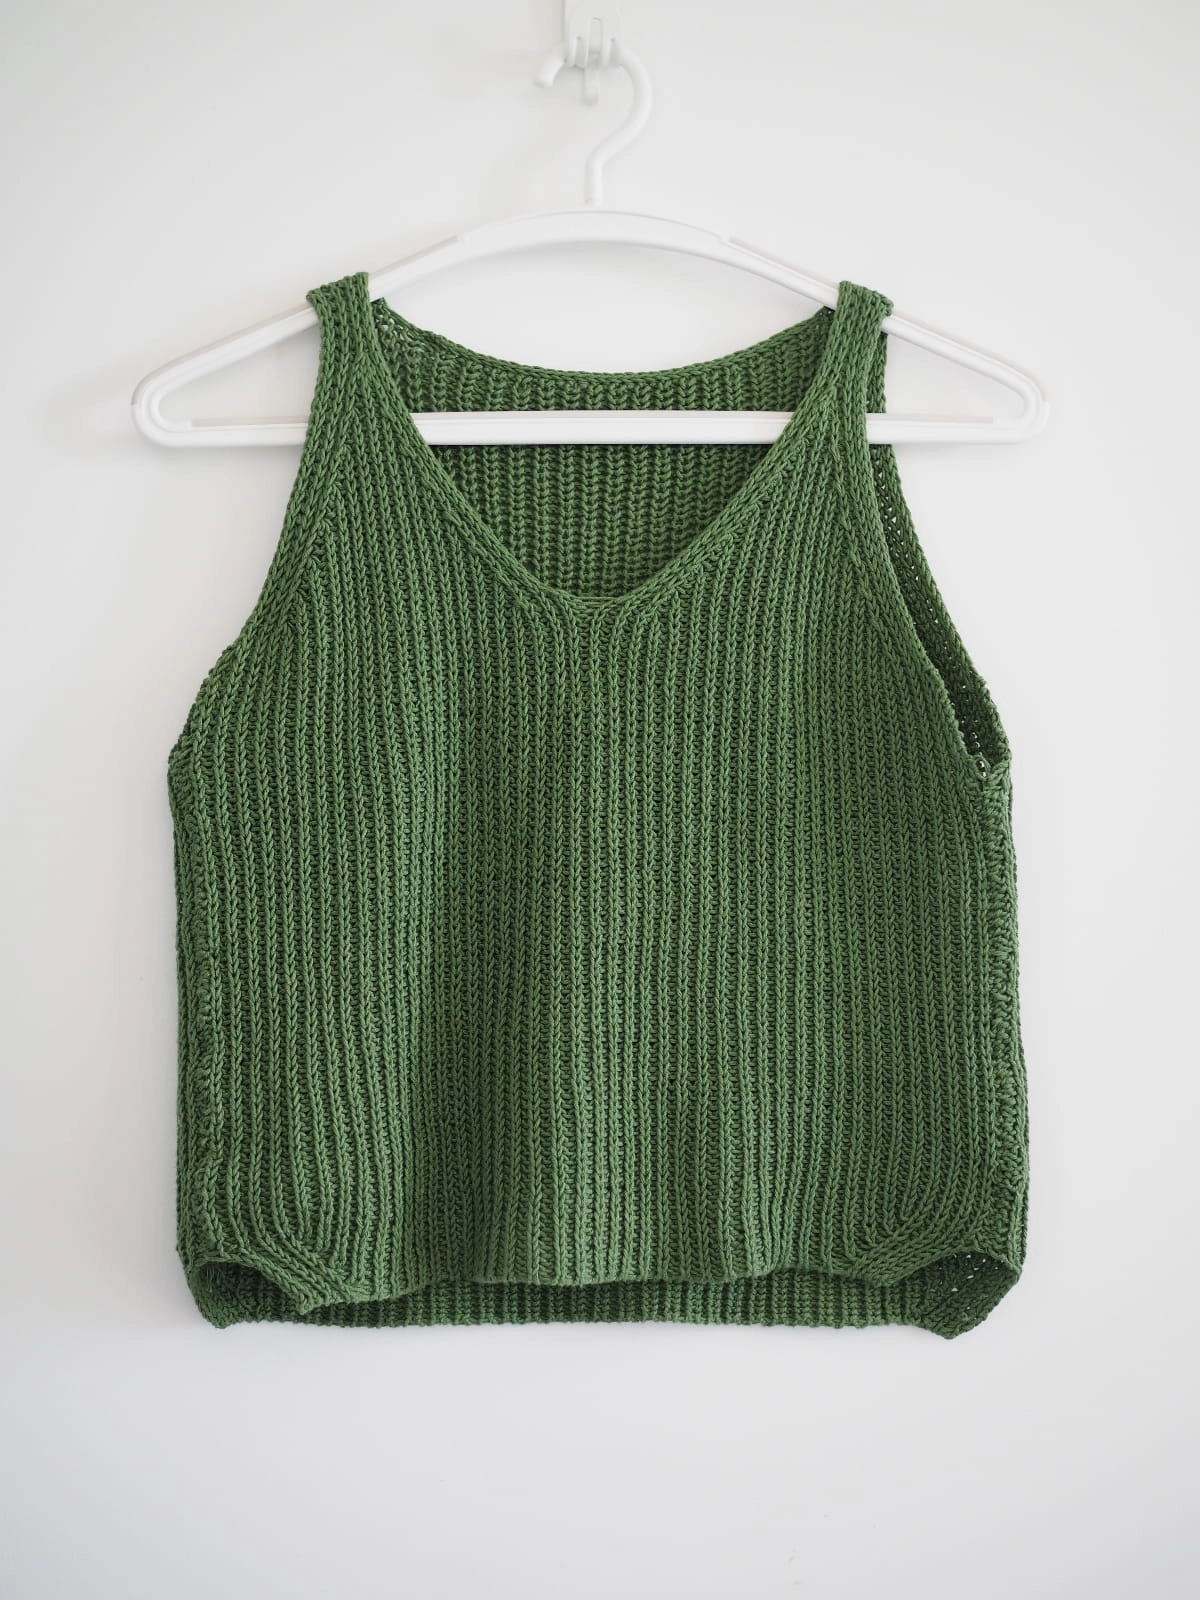
- Ravelry: PurringYarn’s EMMA Top
- Time spent: 38 hours
- Yarn: Drops Safran (78 Forest Green)
- Needle: 2.75mm/US 2, 3.0mm/US 2.5
- Duration: -
- Pattern: EMMA Top by Susanne Müller
Yarn planning
Initially I was planning to knit this top with Loveyarn 丝语 (cotton/linen). The yarn was too stiff to work for this squishy half brioche pattern so I ordered Drops Safran from woolwarehouse. Thankfully it didn’t take long to arrive.
Drops Safran is soft 100% cotton. It’s easy to work with and not splitty, which I like, and the colour is accurate. However, I found the quality is not consistent. The first two skeins were amazing but the third one started plying and some threads pop out when I look it closely. Overall it’s not bad especially with its price.
Pattern and modifications
This pattern made me irritated. There are few noticeable problems:
It’s extremely wordy which makes the pattern unnecessarily complicated. For example, when working the left front increase, I would write this instead of repeating the same thing for every row:
- Knit row 1 as in pattern
- From row 2, increase stitches as row 1 every 6th row for another 6 times. Total 7 increase rows have been worked.
- After the last increase row (the 37th row), work another 5 rows in pattern.
- Continue the pattern as it as.
Did not use the standard acronym. The main body is half brioche stitch involving some increase and decrease, however it did not use the standard acronym, nor provide any video tutorials. I felt it could avoid so much confusion by just using standard acronym for brioche increase/decrease.
Another confusion I had when reading the pattern is how to properly count the stitches when there’s brioche involved. Of course, now I know that “the slip with YO” should be counted as 1 stitch, not 2, but I only knew that after researching and cross checking with the pattern.
Modifications
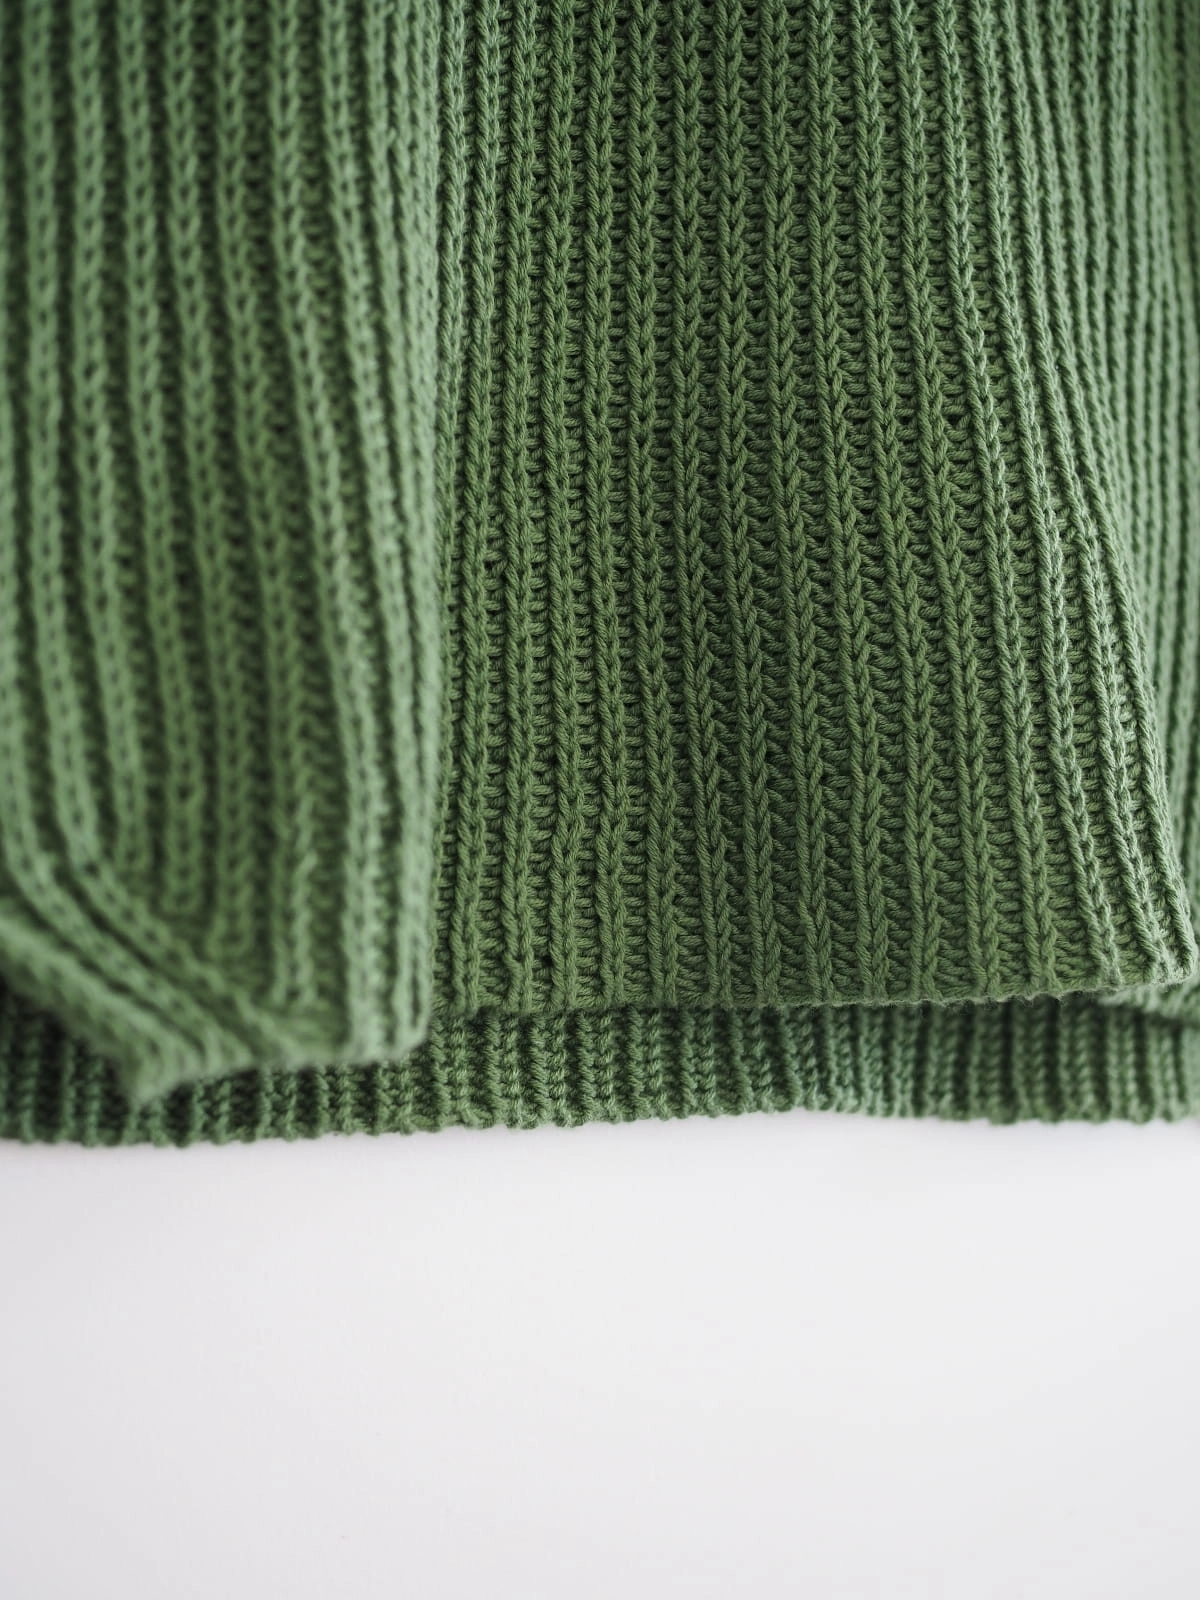 Italian 1x1 cast-on. This creates a very neat yet stretchy cast-on edge. For decrease I use the standard brioche decrease as follow:
Left leaning decrease
bsk2p: slip knitwise, k2tog, psso
Right leaning increase
bk3tog: k2tog, slip purlwise back to left needle, psso from the next st in the left needle
Making a size XS. Finished measurement:
- Chest: 88cm (~10cm positive ease)
- Length: 46cm
- Armhole depth: 22cm
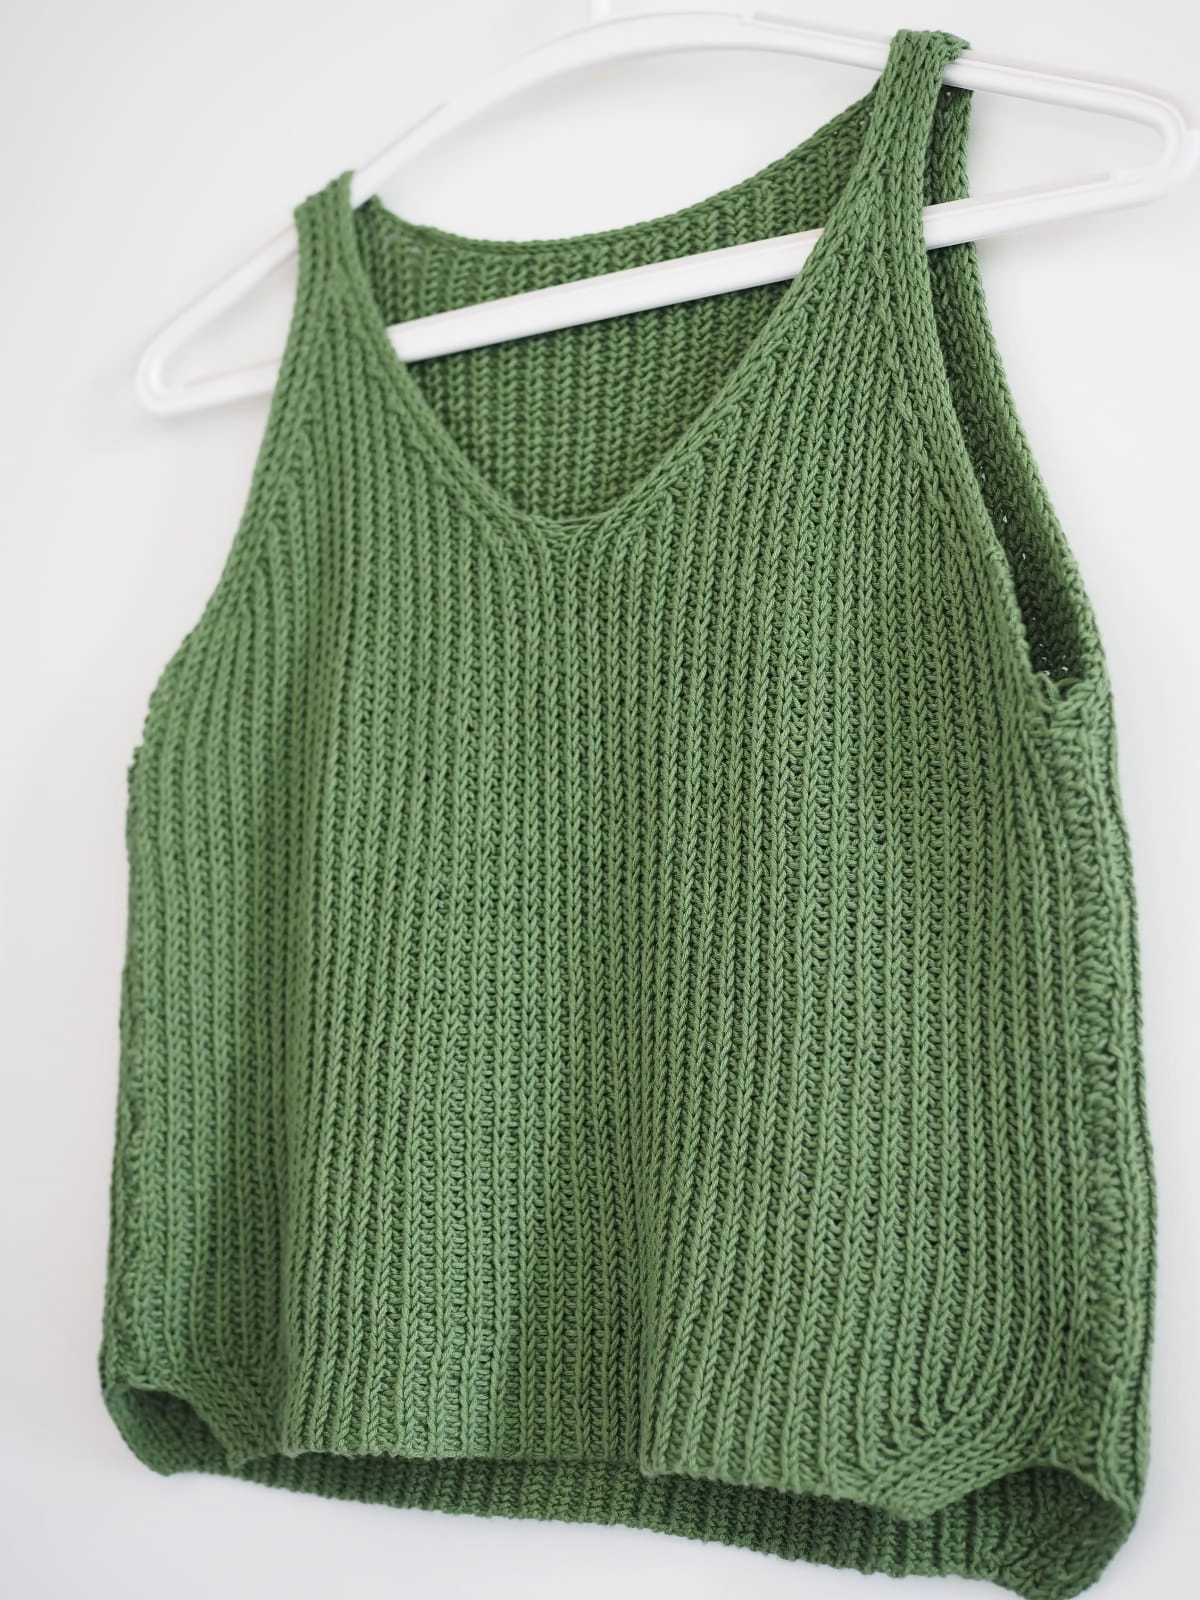
Note that I did not fully “closed” the side to the point of increase when sewing front and back. Maybe it’s a row gauge issue, I found that if I close it fully, the arm depth would be too small, so I left about 1.5" opening for armhole. This way my arms can easily slip into without feeling too tight. I’ll see if I could close it fully with wear. It depends on whether the piece would stretch out.
One thing I don’t like is the side sewing line. It looks ugly even though I put lots of effort to align two pieces. To be fair I did use two different sizes of needles (back is 3.0mm and front is 2.75mm) but I feel this does not affect how the sewing looks.
Project timeline
- – Cast on.
- - Unravel and restart with Italian cast-on.
- - Finish the left front.
- - Finish both pieces.
- - Block and finish sewing the pieces.
New techniques learned
Brioche decrease
Left leaning decrease
- bsk2p: slip knitwise, k2tog, psso
Right leaning increase
- bk3tog: k2tog, slip purlwise back to left needle, psso from the next st in the left needle
Knitting journal
I knitted the swatch using the Loveyarn 丝语 (cotton/linen). The yarn was so stiff! I was speechless 😅. I felt that it was not suitable for this squishy pattern. Ordered a new dark green yarn from woolwarehouse to knit this pattern instead. Now I have to find something else to work with.
- 21 days later
Almost finished the left front but I think the length is too crop to my liking. Decided to unravel it to the point of decrease and I’ll knit another 1" for both front and back.
- 1 day later
Finished the left front. Well…like I said, the pattern is extremely wordy. For left front I would write this instead:
- Knit row 1 as in pattern
- From row 2, increase stitches as row 1 every 6th row for another 6 times. Total 7 increase rows have been worked.
- After the last increase row (the 37th), work another 5 rows in pattern.
- Continue the pattern as it as.
- 4 days later
Finished everything except sewing. Both front and back piece have now been wet blocked and are drying. The i-cord bind-off on the shoulder is an interesting design. Let’s see how it turns out. I actually quite enjoy mattress stitch from my last project with Cancun boxy top so I’m looking forward to the finishing.
- 3 days later
Finished the top yesterday and photographed today.
From the knitting circle
Comments